You are currently browsing the tag archive for the ‘corkboard’ tag.
I’ve never been a fan of “cork crafts.” You know, the kinds of things you can make with your collection of corks- kind of an ego trip concerning the amount of wines you’ve consumed, and absolutely a hoarding problem.
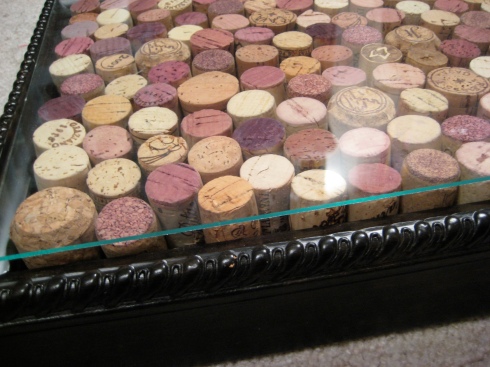
But what’s a girl to do when she opens, on average, ten bottles of wine a week? Corks are cool- but there are only so many you can have in glass jars or piled up in corners. Finally, I decided to break down and make my father a cork board! However, since I didn’t like the “normal” styles of cork board, where one cuts the cork in half lengthwise, I decided I wanted to see the wine-end, which to me, is far more interesting.
Materials:
Corks (the number is dependent on your frame size. I included champagne corks)
A Shadow Box that’s depth is less than a cork.
Tacky Glue (I used Aileens)

Step One:
Remove the glass from your shadow box- you won’t be needing it.
With the back still in the frame, set on a hard surface like a table, or the floor, collect your corks and start lining them up inside your frame, careful to arrange them so that the reds are evenly distributed among the whites, and the large champagne corks are scattered. Make sure your corks are so snug inside that if you picked up the frame, they’d magically stay in there.

Step Two:
Place the piece of glass on top of the corks once you have them where you want them.
Holding the glass against the corks with one hand, flip your whole frame over onto the glass, with the back of the frame now facing upwards. The glass should ensure that none of your corks fall out!
Step Three:
Open the back of the frame- it should be all the “backs” of the corks you just organized. Now the glue begins. With your tacky glue, place a liberal amount of glue on each cork. I also ran lines of glue along the back of the frame in random squiggles, too. I used tacky glue because of its slow drying time and at its price I don’t mind using half a bottle of glue!
Step Four:
Replace the back of the frame, and re-turn all the mechanisms that hold the frame in place. This next step may not be essential- but I decided to glue the back of the frame in to place. I actually glue all along the seam and flattened it with my finger.
Step Five:
Pressing the glass against the corks from the bottom to assure corks down fall out, flip the cork board back over so that the cork is now facing up again. Remove the glass.
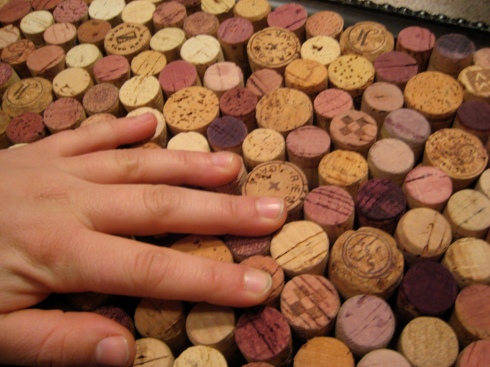
Run your hand over each cork and press them firmly down, making sure the back of the cork makes contact with the back of the frame, so it can be well stuck with the glue you just applied.
Step Six:
Wait. I waited two days before moving my cork board- but it might only take one depending on your climate. Affix any wall hangers you may need; note that since the cork board is frequently touched, two wall hangers on opposite sides of the frame is ideal to keep it from shaking on the wall.
Now wrap it up for your loved one with a lovely wine note like: “I’ve met a lot of Moms, but your my favorite vintage.” or “Dads are like good wine- they get better with age.” How about, “Cabernet pairs well with steak, and Sauv Blanc pairs well with chicken. But my absolute favorite pairing is you and me.” or if you want to get really technical: “My favorite appellation is Home, and you’re my favorite label.”


